Pages

Monday, September 29, 2014

The best of fall

In a way this topic has been talked to death, but you know, fall, sweater weather, autumn, whatever you may chose to call it, causes excitement to bubble within. It means the holidays are drawing near, everyone's spirits are lifted, and the flavors. Oh, the fall flavors and smells. Pumpkin, cinnamon, pecan, mmhmm, all of the above plus more appear on store shelves and coffee shop menu's.

This time of the year just gives me a excuse to try everything pumpkin and cinnamon. Let's light those candles, get those pumpkin's carved and get into the best of fall.


Smells and flavors (again) 
I cannot not rave about the wonders autumn scents and flavors to my senses. My nose and tastebuds go into a frenzy and are so happy to be in this season. I recently decided to ring in the season by baking some pumpkin chocolate chip cake cookies.  Plus, there's healthy versions of all holiday desserts (and they're so tasty).
These are cake like, different texture from a normal cookie, but so yummy.
Check out the recipe by Civilized Caveman Cooking 
cc: Remi Taum

Clothes
Unfortunately, living in a tropical location doesn't allow for much variety in seasons. Therefore, sweater weather is usually out of the question, say farewell to the daily scarf and pair of boots you'd wear with the sweater. BUT! There are still opportunities to wear these clothes, with the occasional spout of windy, cool air. To take full advantage of this bundle-up weather, take a trip to another state.

Decorations
Oh, the decorations! They are so sparkly, festive, and family oriented. Decorating your house is not just house warming, but it's so much fun! It helps to get in the mood, to spice up the environment you live in a bit. Get those creative juices flowing and throw up some cobwebs for Halloween, or hang some snowflakes from the ceiling during Christmas!



Monday, September 15, 2014

For those of you who are gluten free but want a cake-like treat

Fresh out of the oven, peanut butter cookies. Yes.

Going gluten free is the "in thing" now. It's a lifestyle that dominates headlines, book covers and magazine articles.

Now that I'm on a gluten free diet, do I have to say, "See ya later to my cupcakes?!"

Answer to that: No. You don't! *insert clapping here, please* 

You can live a gluten free lifestyle and still indulge in those yummy cookies, cupcakes, cakes and more! Throw in some chocolate drizzle if you please.

Enough chit chat. Here's a recipe that I discovered the other night, amazing, chewy with crunchy rims, peanut butter cookies. It's glorious because, it only takes about 10 minutes to prep and 13-15 minutes to bake. I did, however adjust the amount of sugar in it.

Ingredients List

  1. 1/2 cup sifted coconut flour (I used "Let's Do Organic, Coconut Flour" or Bob's Red Mill Coconut Flour is good too)
  2. 1/2 tsp vanilla extract
  3. 1 cup peanut butter (I used crunchy peanut butter)
  4. 1 1/4 cup Organic 365 Cane Sugar (original recipe calls for 1 1/2 cup sugar)
  5. 4 eggs (I prefer having them at room temperature, but it's not necessary)
  6. 1/2 tsp sea salt 
Process
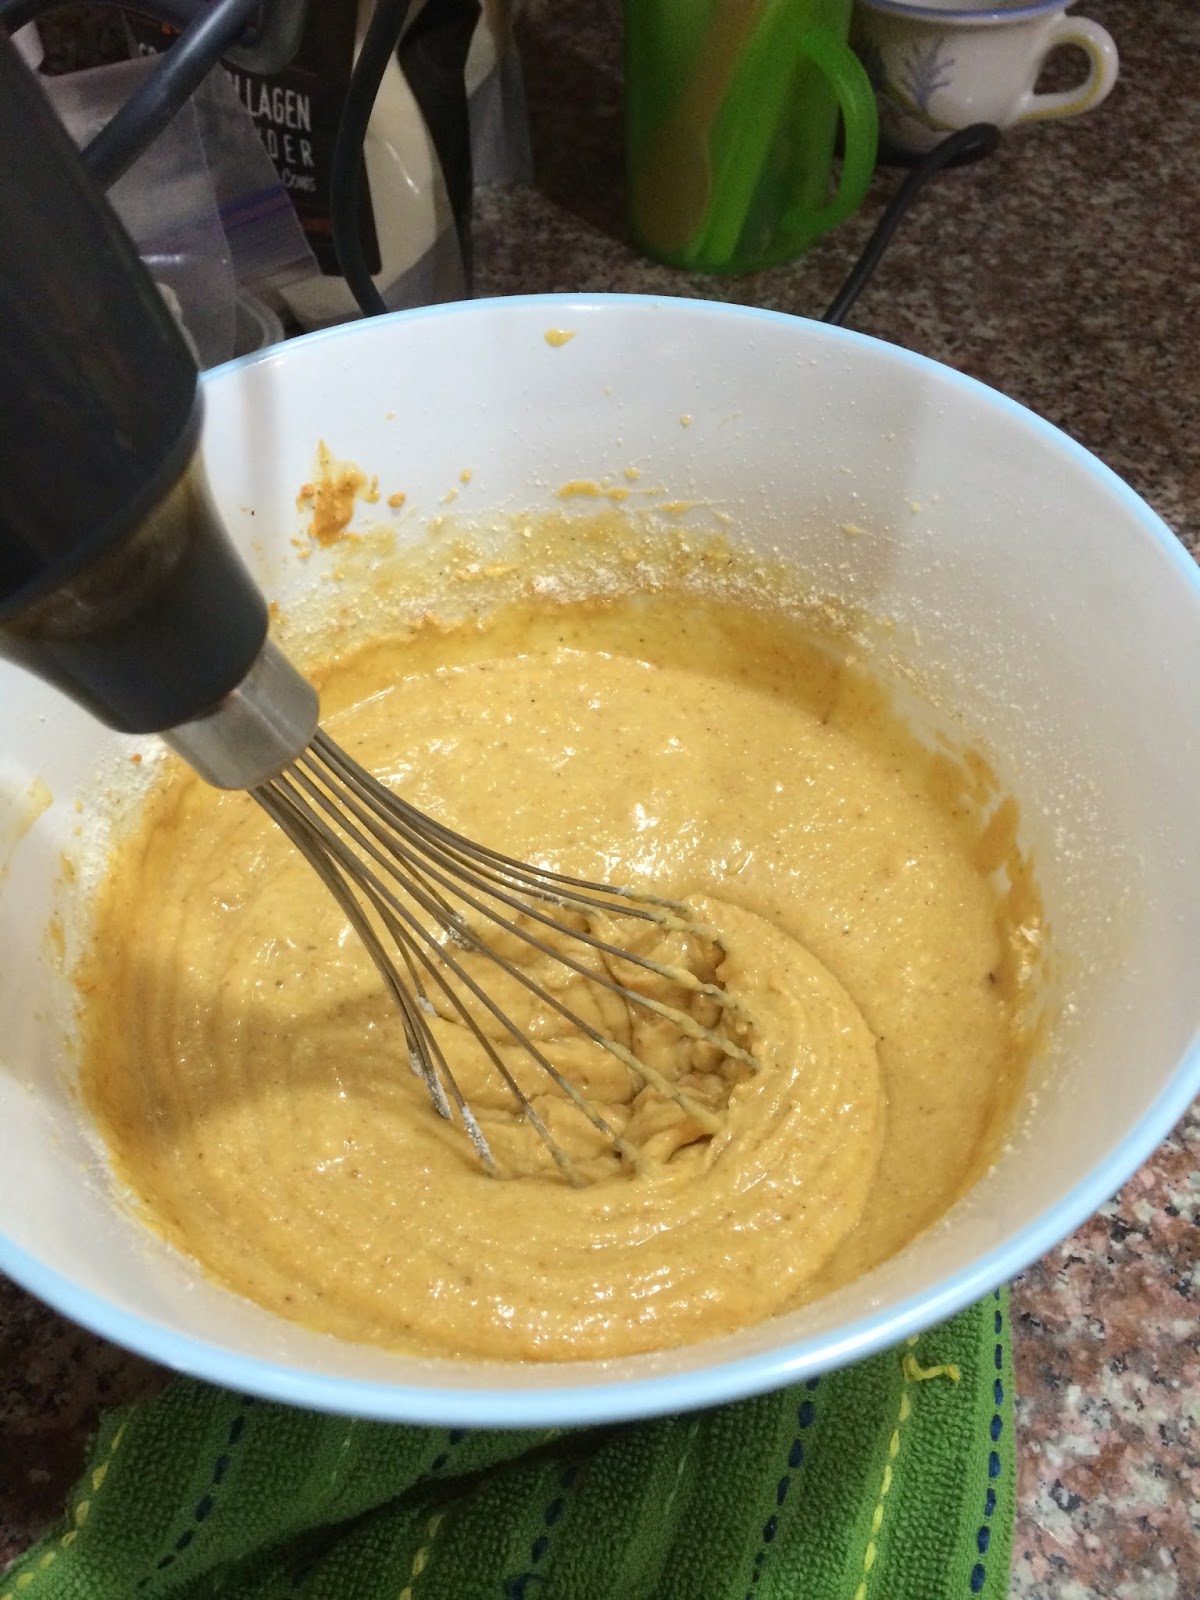
  • Mix together sea salt, eggs, and vanilla extract, next add in peanut butter (I used a hand blender, the peanut butter is so thick you'll need it, or you can stir really fast)
  • Last, add in coconut flour. Mix well. 

Mix well.

  • You can grease your cookie sheet or use aluminum foil. Spoon the cookies out and this batter will make 3 dozen.
Size of your cookies can be smaller...These were a good size.

  • Bake for 13 minutes for a chewier inside, and 14-15 minutes for a crispy edge.
Hooray! Time to eat. 

Let the cookies cool for a few minutes -- then indulge. Add some ice cream too, Coconut Bliss is so good and a healthier pick. It's a bit on the expensive side, but you'll be happy you chose this.


Thursday, September 11, 2014

Sweat it, pop it, drop it, work it


Okay, so, I've been trying to write this blog post for about two weeks. I just haven't had a moment o finish it! But, behold, here it is!

My mom brought me to CorePower Yoga to experience the one hour sweat session of Yoga Sculpt with weights. It can, and is intimidating walking into a yoga studio, especially if you see people's legs up by their ears, and they're standing on their heads. Let this go. Walk in with confidence. You're here to workout and be healthy, right? Be you.

This yoga sculpt class starts with a mellow warm up, dynamic movement session, followed by a combination of sculpting moves with free weights and a high-intensity vinyasa flow + bursts of cardio. You can expect some high energy, beat dropping music, and when you leave you'll be exhausted from the full body workout.

You'll work your biceps, triceps, shoulders, rotator cuffs, quads, calves, mid-section and more. You'll start feeling muscles you didn't even know you had.

However, I am leaving out one of the key factors to expect from a yoga sculpt...it's hot. The room is usually heated between 95 - 100 degrees. A few side notes: If you're used to working out in the heat, it will give you an advantage over those of you who may workout in an air conditioned gym or room. The heat in this yoga studio is (usually) bearable and feels much better than working out in the heat outside. I'm not sure why that is.

The class finishes with dynamic stretching, and of course, relaxing and breathing. At this point, you'll be sweating so much that you'll feel as though you've showered in a hot, moist room. It sounds gross, but CorePower Yoga studios keep their rooms very clean. You can even hop in the shower if you need when you're done.

After attending the class several times, I began to learn the pace of the class and my body has adjusted a bit more to the temperature. My muscles are immediately warmed up and easy to stretch out, and already started to see results a week later. Of course, you do loose a lot of water weight, which will be put back on once you drink, so don't think about how much you weigh. You'll see the difference in your body shape. You'll tighten, tone and be defined, granted you are watching your kitchen habits...if you know what I mean.

Be prepared to focus on your breathing and form. Do not be concerned about how other people look, if they're staring at you, blah blah. No judgement, really. If you want to talk about it later, go for it. But in there, let it all go and focus on your workout and pushing your limits.

Tips for newcomers & some reminders: 
  1. BRING your water bottle. You will need it for hydration and energy 
  2. Bring (or rent) a towel. You'll be slipping, sliding and dripping all over the place if you don't have this. Plus, please keep your area clean.
  3. BYOM: Bring your own mat (rent if you don't have). You will not be able to do much if you don't have a mat. This sticky surface will help to keep you from falling on your face. 
  4. Take  a water break whenever you need it. Don't wait for the instructor to cue in a break.
  5. Don't worry about others. Don't do it. I know you'll want to look around and watch other people. If you really need to, only do it when you aren't quite sure what you're doing. Focus on you. This 60 minute workout is for you.
  6. Modify. If you're completed exhausted, don't feel shameful if you need to stop, take a break, or even modify the move, you'll end up compensating if you don't. Example: if you're doing push ups, drop your knees. 
  7. BE AWARE OF YOUR FORM. Do not slack on form. It's not safe and you can injure yourself. If you aren't sure how to do a move, raise your hand for assistance. 
There are benefits to working out in the heat, check out the most recent, 17 Days To Superhuman blog post, "How to Workout in the Heat and Why you Should Embrace It!" This post will give you the ups & downs of heated workouts in detail.

Caution: Working out in the heat can be very dangerous. Be careful and always be smart. Know your body and listen to it. Thirsty? Drink. Tired? Rest. Need to step out? Do it. 

Tuesday, July 29, 2014

Crunched for time? You just need 6 minutes.

The days seem to get shorter and shorter, workdays become work nights, and workouts become, well, they just disappear. It feels like working out is this far-fetched goal that can't seem to be accomplished.

Have you caught yourself saying,

"I'll start on Monday."

Behold, it's now Monday and what are you doing? Nothing. Starting another week without adding in your planned workouts.

Let's make sure that doesn't happen anymore. If we're so precious with our time and money, why can't we be with our bodies? Shoot for utilizing each and every minute that you are not at work to nurture and care for yourselves, whether it's 5 minutes of inner thigh exercises, breathing, a power nap, whatever it may be, enhance your body.

Put down that phone, turn off the TV and work your body.

Today we'll focus on 6-minute abs. Aside from having zero muffin top and looking great in a bikini, having a strong core has amazing health benefits. A strong core means a strong foundation. Core workouts the muscles in your hips and back, helping them to function together. As you start working your core (incorporate smart breathing: exhale on exertion), you'll begin to feel those muscles working and they will quickly become defined, if you're committed. Abs are made in the kitchen and defined in your workouts...so it's said.

Enough talk,  get that music going, it's time to start your workout.


1 MINUTE WARM UP: 
  • Arm circles: 15 seconds
  • Alternating lunges: 30 seconds total (15 seconds each side)
  • Kick crunch: 15 seconds (alternating sides)
    • Exhale & engage your abs as your kick your left leg up and bring your right hand to toes (repeat with other leg).
Kumbhakasana Pose (Plank)
photo: yoga mama


AB WORKOUT: 
Note: You can add a medicine ball or dumbbell for the Russian Twist, but you don't need it. Work up to it. 
  1. 1 minute plank  (you can drop to your elbows to modify/adjust.)
    1. Keep your wrists under your shoulders. DO NOT let your back sag or stick up like downward dog. Pull your belly button into your spine. Engage abs and lats. 
  2. 1 minute seated Russian Twist
  3. 1 minute side plank (alternating sides; 30 seconds on your left & 30 on your right)
  4. 1 minute mountain climbers
  5. 1 minute plank


Hooray! You're done! Quick, to the point and targeting those abs. Keep up the good work.